Showing posts with label thrifty. Show all posts

Thursday, January 12, 2012

Marble & Mason Jar Makeup Solution


OK, so the name doesn't exactly roll of one's tongue, but this has been the best addition to my makeup arsenal in quite some time.

I have sensitive skin. I break out like a maniac if I:
change face wash brands
fail to use a fresh towel to dry my face off after washing at night
get too much sun
use 95% of the makeup brands available at a drugstore

SO......
Since I have no plans on not wearing makeup anytime soon I am careful about what I use and take care to make sure that the products I use last as long as possible.

In come the mason jars. I love them. For cakes, presents, and even.......make up brush holders that double as makeup brush cleaners. Again with the awkward name, I know.

I like the look of a mason jar in the bathroom on my vanity to hold my makeup brushes in. It gave the vanity a shabby chic feel, and was cheap :). I placed flat glass stones from the Dollar Tree in the bottom to keep the brushes in place as well as to make them more raised so that I could grab the shorter ones with more ease.

I also found that these stones, or marbles, work wonders in helping to clean the brushes.

Here is what you will need:
  • mason jar or some other jar with a tight fitting lid
  • marbles or other small filler
  • baby wash
  • warm water
Step 1:
Grab your clean mason jar with some marbles/decorative stones in bottom.

Step 2:
Add a squirt of baby wash (same ingredients as many more expensive brush cleaners and gentle on your face and brushes!) and slowly add warm water.


Step 3:
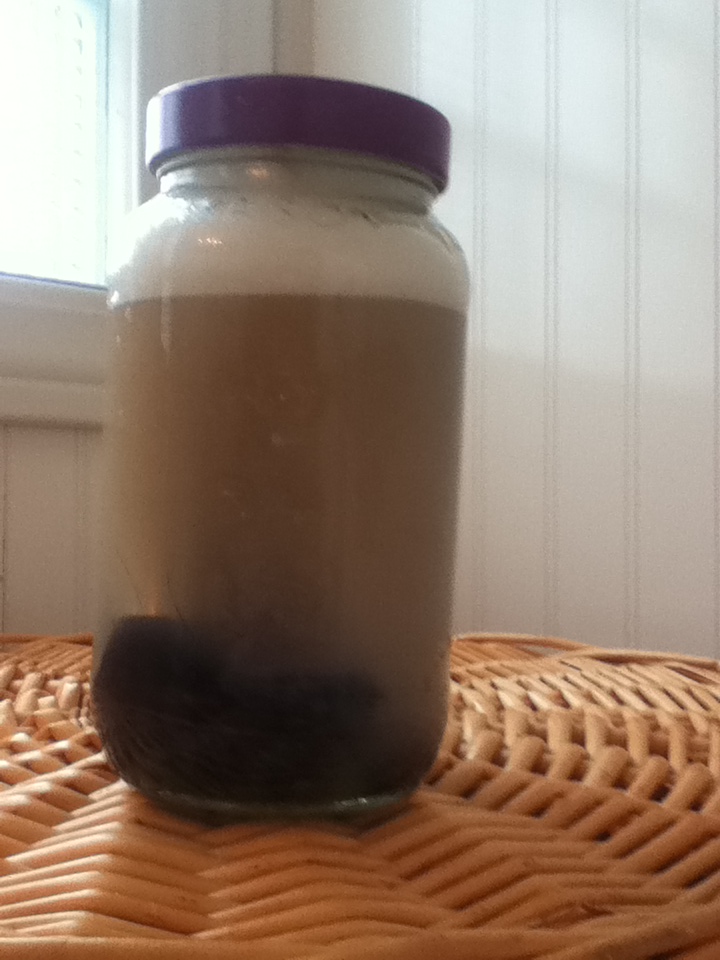
Insert brushes and secure lid. Gently shake to agitate soap with marbles. This will help to loosen the dirt and get your brushes super clean. Repeat a few times.
Step 4:
Pour out soapy water and rinse thoroughly with clean warm water. Gently squeeze excess water from brushes and lay on a clean cloth to dry.
Your brushes will be cleaner than ever with minimal mess and clean up! I do this weekly when I deep clean the bathroom. A few shakes in-between tasks and by the time I am done, so are the brushes.

Tuesday, November 29, 2011

Flannel Shirt to Juggling Fun!


             In my son's third grade class their juggling kit is a huge hit. Every time there is indoor recess, there is a mad dash for all the "best toys". 


            The problem was that my son really enjoyed learning how to juggle, while some of the other boys liked the juggling sacks for their ease of throwing at each other. 

            Every time the kids had recess inside I heard about how he didn't get to use the juggling kit, and how he was frustrated that the other kids were not using it correctly. 


          One night, while transforming some old flannel shirts into a skirt (tutorial on that to come!), I thought of making him his own juggling sacks with the left over material. It was soft, easy to sew, and not as girlie as much of my other fabric on hand was. I also happened upon a box of barley that I had planned on making soup with, but since it had been over 2 years, I decided that juggling sack stuffing would put this shelf warmer to better use. 


Materials:
*scissors
*old flannel shirt or other scrap fabric
*pins (for holding fabric scraps together)
*sewing machine or needle
*thread
*measuring tape or ruler
*barley, rice, or other dried beans
* 1/2 cup measuring cup
*funnel


1. Start with a nice pre-washed fabric that your child likes. Juggling takes time and practice to learn, and that is a lot more fun to do with sacks that they like looking at. 


2. Measure 5 inch squares and cut out your fabric. I found that folding the shirt in half cut down on the cutting time as this way you can do two at once. A good number to shoot for is six, in order to make three juggling sacks.


3. Putting wrong sides together, pin them closed on three sides. Sew the bags closed on three sides you just pinned. Now, on the fourth side you want to stop about an inch or two from totally closing it, as you need to be able to pull it right side out. 


4. Pull the fabric right side out through the small opening and grab your measuring cup and rice/barley/dried beans. 


5. Take your funnel and place the end in the opening. Measure 1/2 cup of the filling of your choice into the bag. 


6. Remove the funnel and carefully sew the bag shut. Try to stay as close as possible to the edge in order to maintain a clean look. 


              I made my son his own set of three for home, and later in the week decided to make a set for his classroom. His teacher and classmates were thrilled, and my son can practice his juggling at school if he wants :).