Showing posts with label crafts. Show all posts

Wednesday, December 28, 2011

Button Hair Pins


I am sure almost all of you with girls have a bazillion hair clips, bows, headbands, and pony holders floating around your house and after the holiday gift frenzy might not be thinking about procuring more food for your vacuum. But, in case you are a push over for cute hair accessories and are looking for something mindless to do while your kids watch the Star Wars boxed set, you are in luck!

Materials:

  • shank buttons (the type with the loop in the back, not the holes drilled in the middle)
  • thread
  • needle
  • bobby pins
Step 1: Go through your button stash and find some cute shank buttons. These are the buttons that have the loop in the back for attaching them to fabrics. I like to buy my buttons in bulk from large craft stores and there are always gobs of cute shank buttons that I have no idea what to do with, but hate to throw out since they are so darn cute!

Step 2: Assemble your needle, thread, and bobby pins along with the shank buttons you chose. Thread your needle and place the shank button between the ends of the bobby pin so that it is lying flat against the button. Sew the thread through the shank.


Step 3: Pull the thread through the ends of the bobby pin and loop back through the shank.


Step 4: Knot the thread each time you pass it through the shank. Make sure to alternate coming up through the shank from both sides, as to ensure a tight adhesion.

That's it!

Cute and unique hair pins that use up some of those buttons you have no idea what to do with.

Wednesday, November 9, 2011

Button Love

Big J's niece is getting married this weekend, and I had no clue what to get her. I didn't want to go the registry route, as I wanted to give them something that was handmade and they could hold on to. I went into my craft room and sat staring at all of my supplies. I had just purchased a huge jar of buttons from the thrift store and decided to use them along with an old dollar store shadow frame to make them a framed button heart. I hope they love it, if not, I am totally stealing it to put it in my bedroom :).

Here is what you will need:

- shadow box frame
-thread and needle
-glue gun with glue
-lots and lots of buttons
-paper for backing

Step 1:
Pry the back off of your frame
Step 2:
If there was an embellishment in the frame take/scrape it out 
Step 3:
Hand rip your scrap paper to roughly fit the frame backing. Just eyeball it. It does not need to look perfect, and actually looks better imperfect.
Step 4:
Place your paper against your backing to see if you like the fit, if you want more of a rustic look. let more of the backing show through.


Step 5:
With a pencil, draw a hear shape on your paper
Step 6:
Using your needle and thread, begin sewing buttons all around the perimeter of your heart shape. You can also use hot glue to do this, but I like the look of the hand sewn buttons.

Step 7:
Fill in the heart with buttons. Where there are gaps, bend the paper and wedge buttons in, sewing them in place. This will give your heart dimension, and make the buttons really stand out.
Step 8:
Place hot glue along the back of the paper, wrong side up
Step 9:
Press heart gently onto backing of frame add more glue if needed.
Step 10:
Glue frame back in place with hot glue. Press backing onto frame to secure. 


Finished Product:


Monday, November 7, 2011

Easy & Cheap Fall Decor

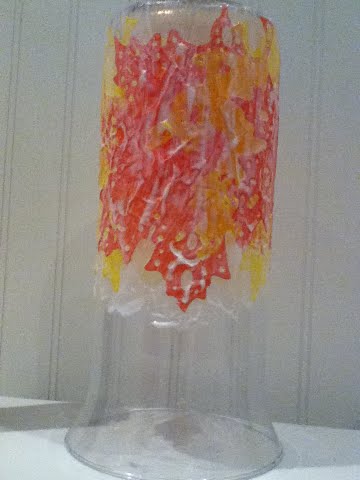
Easy and Cheap Fall Vase from Dollar Store Items


I love fall. Especially Halloween. Mostly for decorating reasons. I think that witch doormats and spiderweb encases porches make just about anyone feel like a kid again. 

But, when a holiday is over I want the decorations down ASAP. The day after the kids and I went out and pulled up all the tombstones, took down the spiderwebs and lights, and went around the house tucking all of our Halloween decorations away until next year. 

As soon as Joe came home from work, much to his excitement I could tell, he went to the attic and brought down the fall tote. We opened it and proceeded to take out five things. Yep, 5. Some wooden leaves for the front porch, a wreath, a cornucopia, and a scarecrow votive holder. That was it. "This can't be all", I told him. His look back assured me that it was. 

I was SURE that we had more. I debated putting some of the Halloween stuff back out like the plug in pumpkins, but decided that it would drive me crazy if I did. A trip to Dollar Tree was in order I decided. 

The next day Claire, Joseph, and I were on the hunt. But, as it was November 2nd, all of the fall decor had already been put away, and the only things out were related to Christmas. Ugh!!! 

In the clearance isle I spotted some paper leaf doilies. I decided that I HAD to buy something, so I took them home and decided to tape them to our windows like falling leaves. Then I decided that it would look pretty to Mod Podge them onto a large vase I had been saving. It turned out great, I think. We have been putting pumpkin scented candles in it and lighting it at night, it adds a nice "fall-ish" glow to the room, and is perfect to keep up until Christmas decorating time. 

Here is the how-to:

Things you will need:
-mod Podge and foam brush

-paper leaf doilies (or dried real leaves)

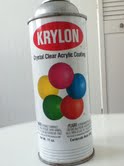
-clear acrylic spray

-vase

-candle 
-razor blade or exact-o knife


First off, grab a vase or large jar that can fit the leaves you have chosen. I went for a large mouthed tall skinny vase, but any jar would do as well. You will want to liberally coat your foam brush and coat the vase 1/2 of the way up with a thick layer of mod podge. I experimented with going all of the way up, but found that half way yielded the best results. 

After you have coated the jar, begin to layer your leaves in a pattern that you like. Be sure to be careful is using paper leaves as they will tear easy. Carefully smooth them down as you place them as to limit air bubbles. 

Carefully place a layer of mod podge over each leave as you place them, making sure that all surfaces of the leaves are covered.
After all of the leaves are placed and covered, allow your vase to dry. I turned mine upside down to help protect the finish.
As soon as your vase is dry, seal the leaves by spraying a clear acrylic spray all over them. Be careful to only spray the area where there are leaves. Let dry again.

Next, take your razor blade or exact-o knife and cut along the perimeter of the leaves. The mod podge will come off quite easily, almost like a thin layer of dried glue on skin. Carefully peel off the excess and clean up any unwanted blemished on your glass.

Finally, grab a candle, light it and enjoy your masterpiece!! 

Monday, May 2, 2011

Got Books? Part II Book Wreath


Welcome back! Hope everyone had a wonderful weekend. I am sorry that I had to wait a few days to get this second part of this post up, but weekends are crazy here, as I am sure they are for most of you.

To recap, this wreath is made with the pages left from your hollow book in “Got Books? Part 1”. If you did not do the hollow book craft, don’t worry. You can make this wreath with any bits of paper you have lying around. Just make sure that they are large enough that when rolled, are a size that you are comfortable with for your finished product.


Materials:
• wreath form (I love the green foam ones from Dollar Tree)
• hot glue gun
• glue stick
• pages you extracted from the hard back book (or other paper on hand)


To begin, practice rolling your pages from one end to another to make a sort of funnel looking page. Roll these first ones loosely as they are the outer row on your wreath. After you have the rolling down, grab your glue gun and glue down the seam and press firmly to set in place.


Turn your rolled page backwards and place some glue on the bottom. This is the point where you will glue the page to the wreath. The page end should end up at the back of the wreath. Continue placing rolled pages until entire first row is complete.

The next row will start in the middle of the wreath. Roll the pages again to make a funnel shape, but this time roll them tighter as to create a smaller funnel. Glue them to the wreath so as to make the ends curve towards the back. Continue until the entire center is as full as you would like. Your pages should be criss-crossing around the wreath, covering up as much of the form as possible.


Now you will want to fold some remaining pages into fourths or fifths to glue on the sides of the wreath where there are no pages.

This will ensure that your wreath looks fabulous at any angle.


Add a piece of wire of ribbon to the back and you have a one of a kind wreath perfect for hanging just about anywhere in your home.

Friday, April 29, 2011

Got Books? Part I


                I love books. I mean love them! I have a bookcase full in my living room. And another bookcase in my bedroom that is a tad full. And the stairwell leading to the upstairs bed rooms is lined with books. And some boxes in the basement. OK, I may have a bit of a problem. Now I do pass books on. Friends, church, Goodwill, and so on. But, I still end up with more than I need to keep, and I decided I needed to do something with them. Well, actually I was gently asked (well, threatened, with a midnight drop off at St. Vincent de Paul) to clear some space up.

          While I did take a bunch to the kid’s school and posted some on freecycle, there were still some books that I wouldn’t mind getting rid of that no one seemed to want. I wanted to DO something with them, but I didn’t know what. Then I remembered an article I had read awhile back where the author suggested keeping a hollow book in your home to hide important papers or extra money. This makes a thief finding these things much less likely. While I didn’t make one for my personal things, I decided that I would make one for each of my kiddos. They were a hit! They each have a book that they can hide in their room to keep all of their favorite treasures in.  
          This also left me with a bunch of pages that I didn’t want to just throw out. I decided to jump on the book page wreath bandwagon and make one with what was leftover. See Got Books II tomorrow for that one :)!
          Materials needed for hollow book:
·         A hard back book you don’t mind taking pages out of
·         A marker or pen
·         A craft knife or razorblade
·         Mod podge
·         Foam brush
·         Ruler
Materials if also making wreath:
·         wreath form
·         hot glue gun
·         glue stick
·         pages you extracted from the hard back book


First, grab a book you don't mind re-purposing. (Sorry to anyone who loves "Among Thieves")


Next, get the ruler. Make sure that it is a fairly long book, as this will lend more stability to your hollow book. Open it up to page 40 or so and with your ruler and marker draw a border around much of the printed area. This will be the area that you will be cutting out with your knife.

Press your craft knife as hard down as possible with cutting into the shape so that you can go through more than a page or two at a time. You have a LOT of pages to go through and a life, so the more you can get through the better. After the initial pages are cut, there is no need to continue marking out the remaining pages as you will keep cutting within the boundaries of what has already been cut. Continue cutting out pages until there is around 1/5-1/4 of the book left. It is important to stop at this point as going any further will lessen the stability of your hollow book.

Now is the time for the mod podge and foam brush. Dip your brush into the mod podge and trace around the page every 10-20 pages. DO NOT glue around the first page that you cut into as this will glue your book closed. 

Then glue AROUND the outside of the book of the pages that have been cut, making sure to leave the first 10-20 pages free as this will lend a more realistic book look to the finished product. 


To get the best seal on the pages place the book under something heavy such as a weight or chair. Let the book rest there until dry. I usually just leave them out overnight and they are good in the morning.


Now you, or your kiddos, have a place to hide your important things. Like your Magic Wigglee Worms. 

Thursday, April 28, 2011

A mom that can't say no? Me too.....

                   I am sure that many of you can relate to this; you get a call or email from someone asking if you can help out with something at church, school, scouts, on and on and you of course say "yes". You don't think about what else is going on, or when exactly you will find the time to do this, it is just an instinct. We feel guilty if we don't. We just brew ANOTHER pot of coffee and plow through the night. 
                 
                  Last night was one of those for me. I volunteered to help at my children's school with an event called "Market Place 29 A.D.". I had checked off one of the boxes on the take home form that I could help with sewing. I also checked off that I wouldn't mind helping at the actual event. Did I call anyone to see what that would entail? No. I just checked boxes and thought of what a great helper I was. 
                    
                    Fast forward a couple of weeks. The Market Place event is totally out of my mind. I know of no such thing, I get a call. It is one of the other moms. She has fabric and a pattern for me to make scarves for the kiddos. "Oh, yeah", I say. Mind reeling, trying to remember if there where any exact details on the sign up sheet. There were not, of course. Teachers are smart. They know that less details=more volunteers. 
                    
                           I am told that the project is due next Friday. She apologizes that she did not call me sooner, she lost my number. My mind is racing. It IS Easter Week, but I can squeeze it in. (This was Thursday). I let her know that I would be at home the next couple of day with the kids, who were on Easter break. The days pass. She does not show. I start to hope in the far recesses of my mind (the place where you think things you don't like to admit out loud) that she has forgotten, and then felt guilty and finished everything up. 
                     
    Nope. 
                      
                         On Tuesday my neighbor, who is better than any ADT system, lets me know that a woman stopped by while I was gone. There was no call or anything left, so I was hoping that it was a vacuum or knife salesperson. But oh, I knew. Another day goes by. The guilt is gnawing at me pretty constant now.  Did she really do all of them? Was that her that stopped by? 
                      
                        I sent my daughter to her house to ask for the fabric. My daughter reported back that yes, that was her that stopped by. Ugh. Of course it was. She hands me a sack. A grocery sack FULL of torn sheets. Huh? She informs me that I am making around 100 scarves for the kids, every third and fourth grader, to wear on Market Place Day to help shield their faces from the sand that would have been in the marketplace in 29 A.D. 
                        
Oh.
                        
                        Do you think that I started it On Tuesday when I got it? No. That would be realistic. I looked at the sack a few times while watching " The Other Guys" on Netflix. I thought of it while I did dishes. I moved the bag to my craft room before I went to bed. but this was all of the contact I had with the sack full of linen. 


                        Wednesday my son comes home. He has a leather-esque looking booklet with a foreign coin attached. "This is for you mom", he tells me as I am slaving over a hot toaster making all the kids an after school snack of pretzel bread toast. Yum. I glance at it. I choose to ignore it for a bit. Maybe it is not related to Market Place I lie to myself. I cant ignore it anymore. I open it. BAM. 
                        Inside I find my: Day's agenda (this is when I find out I am volunteering form 8:00 until 3:00), my assignment of making leather-like books with all of the kids at a work station, a note that there is a meeting Thursday at 6:00 where I need to bring the completed scarves (what happened to Friday?!?), and a bazillion name tags for all of the kids. 
                             
                        Now I am getting nervous. I know I need to start the scarves. Why have I put it off? "I will start now" I tell myself. But, I had already promised I would throw the Frisbee around for a bit at the park. Joseph has baseball practice, Mason has youth group, and Claire wants to have some mommy time. 
                             
                             Fast forward a few hours. It is now 10:00. I am feeling queasy from procrastination. I could feign being sick and send the scarves to school with Joe, I could get out my liquid stitch and just glue hems in all of this fabric, I could get started. 
                               
                             I send Joe to the store to get me some heavy whipping cream. I need coffee. And cream. This is going to be an all-nighter. I can feel it. I dump the bag of cloth on the floor in the craft room., put on my ear phones, and shut the door. 
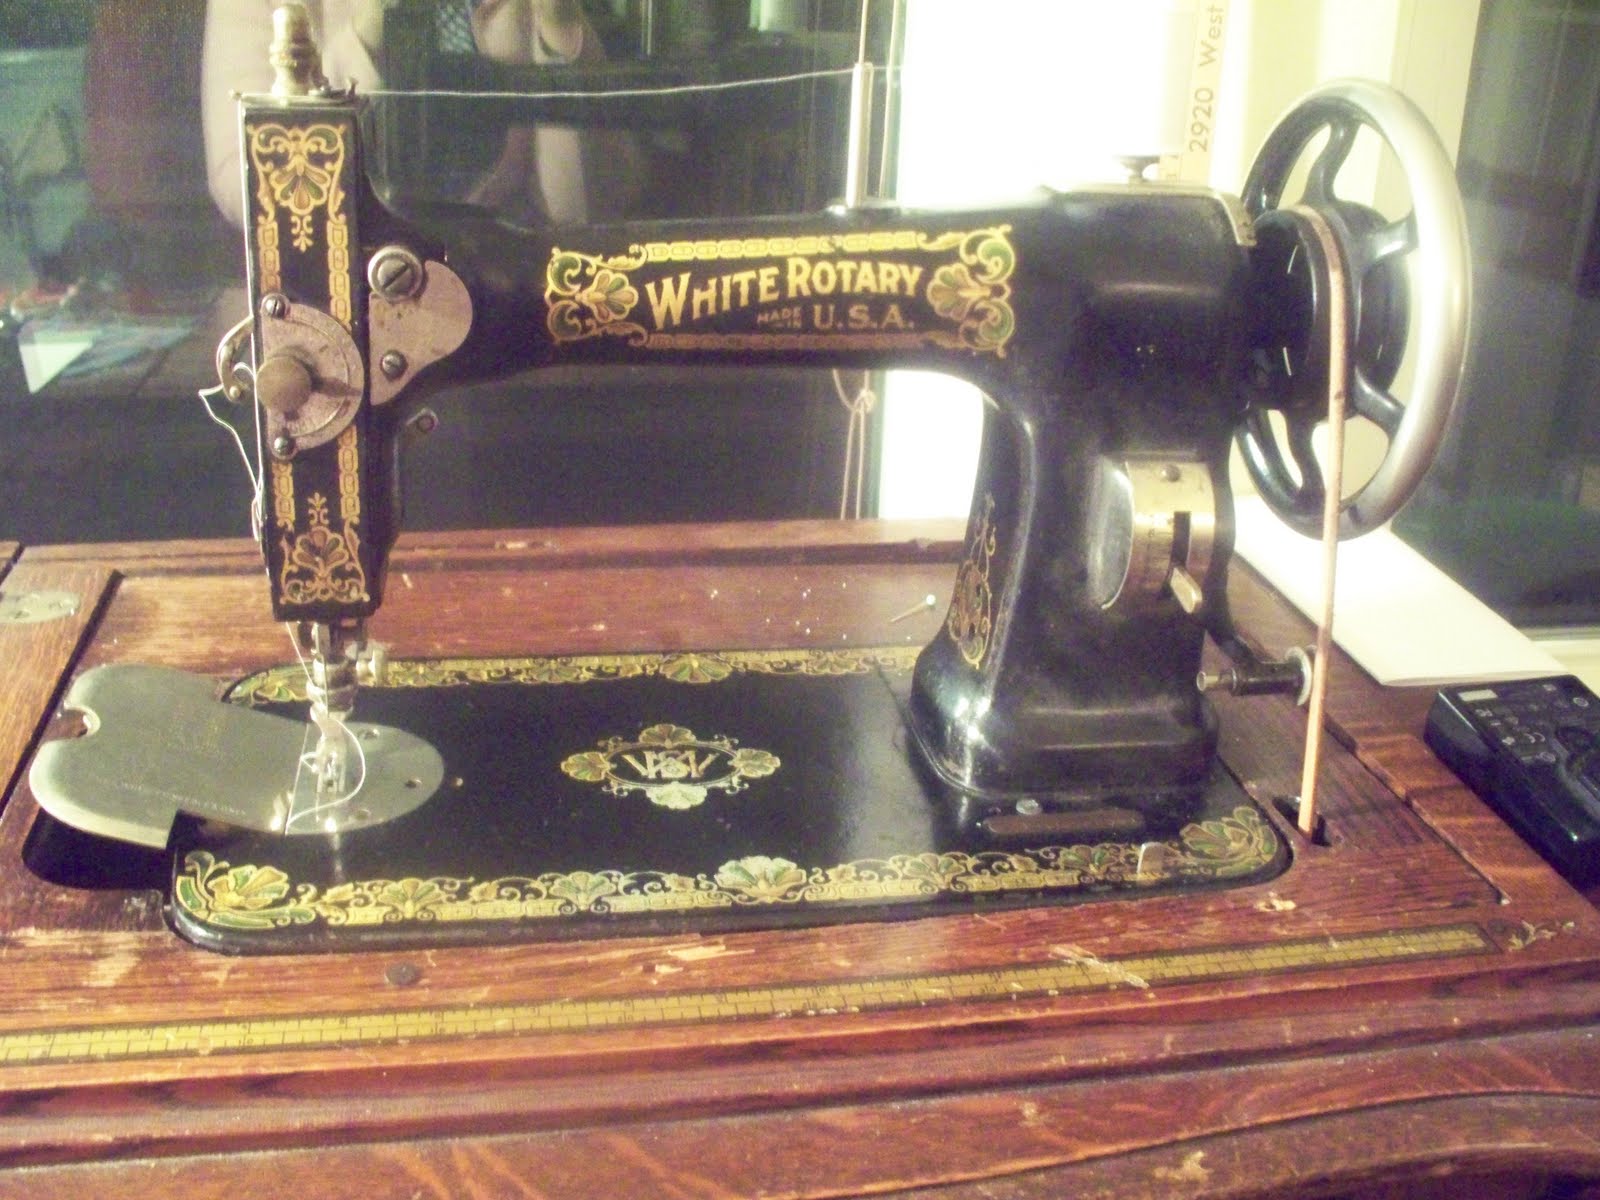
                                  Then I sit down at my treadle. Oh, did I forget to mention I do not have an electric sewing machine? Yes, These would ALL be done by hand, er, foot. 
                                 I start. They all need trimmed and hemmed on three sides. I finish one and want to cry. It took me almost 10 minutes. With ironing and pinning this was going to take forever. I decide to sew by the seat of my pants. I eyeball hem measurements and cut like a mad person. They are coming along more quickly. They don't look perfect, but they will do. I grab my fourth cup of coffee. I am singing along to Muse, moving my feet, feeling pretty awesome. All of a sudden it is 5:00 A.M. 
                               
                              I am done, and want to crawl into the closet and sleep for a few days. Everyone will be getting up soon, and I know that I won't be able to sleep through all the noise, so I decide to make breakfast. Coffee cake sounds good, so I look up a recipe to try.I have never made it, but now on my sixth cup of caffeine induced stupor, I know I can accomplish anything.  I find this great recipe on allrecipes.com and it turns out great. 


                                 Everyone wakes up, gets ready, enjoys breakfast, and is out the door. 
                               
                                I grab ANOTHER cup of coffee, a plate full of coffee cake I swore I would only taste, and brace myself for a l-o-n-g day. 


BUT then
                              My youngest kisses me good-bye and tells me, "I am the best momma and make the best everything!". That makes never saying no worth it :).