Big J's niece is getting married this weekend, and I had no clue what to get her. I didn't want to go the registry route, as I wanted to give them something that was handmade and they could hold on to. I went into my craft room and sat staring at all of my supplies. I had just purchased a huge jar of buttons from the thrift store and decided to use them along with an old dollar store shadow frame to make them a framed button heart. I hope they love it, if not, I am totally stealing it to put it in my bedroom :).
Here is what you will need:


 Step 5:
With a pencil, draw a hear shape on your paper


Step 7:
Fill in the heart with buttons. Where there are gaps, bend the paper and wedge buttons in, sewing them in place. This will give your heart dimension, and make the buttons really stand out.


Here is what you will need:

- shadow box frame
-thread and needle
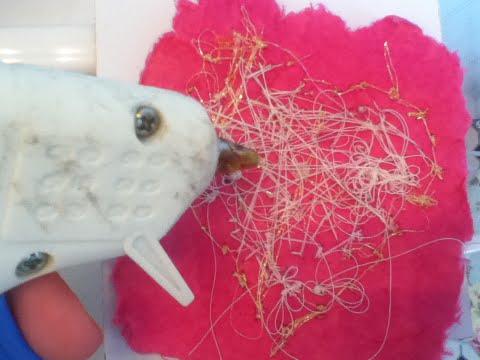
-glue gun with glue
-lots and lots of buttons
-paper for backing
Step 1:
Pry the back off of your frame

Step 2:
If there was an embellishment in the frame take/scrape it out

Step 3:
Hand rip your scrap paper to roughly fit the frame backing. Just eyeball it. It does not need to look perfect, and actually looks better imperfect.

Step 4:
Place your paper against your backing to see if you like the fit, if you want more of a rustic look. let more of the backing show through.

With a pencil, draw a hear shape on your paper

Step 6:
Using your needle and thread, begin sewing buttons all around the perimeter of your heart shape. You can also use hot glue to do this, but I like the look of the hand sewn buttons.

Fill in the heart with buttons. Where there are gaps, bend the paper and wedge buttons in, sewing them in place. This will give your heart dimension, and make the buttons really stand out.

Step 8:
Place hot glue along the back of the paper, wrong side up
Step 9:
Press heart gently onto backing of frame add more glue if needed.

Step 10:
Glue frame back in place with hot glue. Press backing onto frame to secure.

Finished Product:


